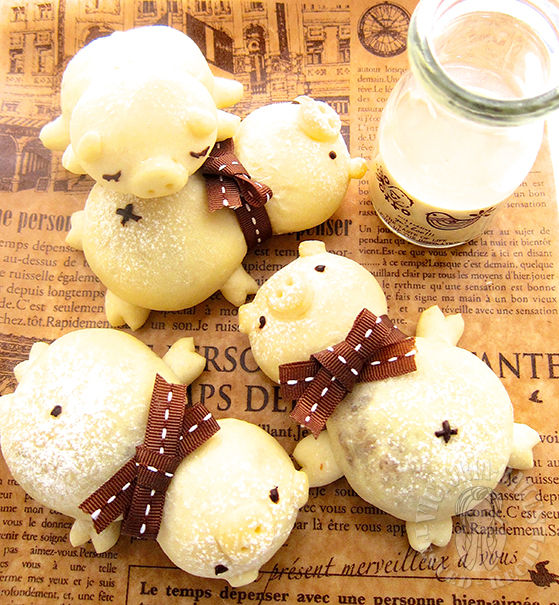
 and finally the rain and wind came… and the weather is beautiful in beijing again…. and…. i’m working hard to deplete all the CNY goodies…. *pant pant* (͒⚈ै⚇༵⚈ै)͒… and this time, i incorporated bak kwa bits into this egg-less & milk-less japanese bread
Dough recipe adapted from Cookpad
Ingredients (makes 8 buns)
 200g bread flour
70g cake flour
3g instant dry yeast
13g granulated sugar
5g salt
100g water
100g soy milk
10g shortening
食材(可做情侣个餐包)
面包粉 200克
蛋糕粉 70克
即溶干酵母 3克
砂糖 13克
盐 5克
水100克
豆奶 100克
白油 10克
Directions/做法
 – place all ingredients into bread maker according to machine’s instructions and remove dough from machine after first proofing
所有食材按照面包机指示摆入后进行和面。一次发酵后,取出
– punch dough down and divide into 8 portions. rest dough for 15 mins
面团排气、分割成 8等份。静置 15分钟
– shape dough according to preference and proceed with second proofing which is c. 25-30mins
面团随心意整形后,二次发酵约 25-30分钟
– preheat oven to 160 degrees C
烤箱预热至 160摄氏度
– sift bread flour onto buns and bake buns for 15-16mins in 150 degrees C oven
餐包撒上过筛面粉,温度降至 150摄氏度烤 15-16分钟即可
Personal note/温馨小贴士:
 – i halved the recipe and made 4 piglets, and 1 small bun. i chopped 27g of bak kwa into small bits for filling purposes
我做了半份食谱,做了四只小猪和一个小餐包。我将 27克肉干剁碎做为内陷
– to shape piglet, divide dough into 4 equal portions of 20g dough, and 4 equal portions of 30g dough after first proofing
如想做小猪猪,一次发酵后将面团分割成 4份 20克面团,和4份30克面团
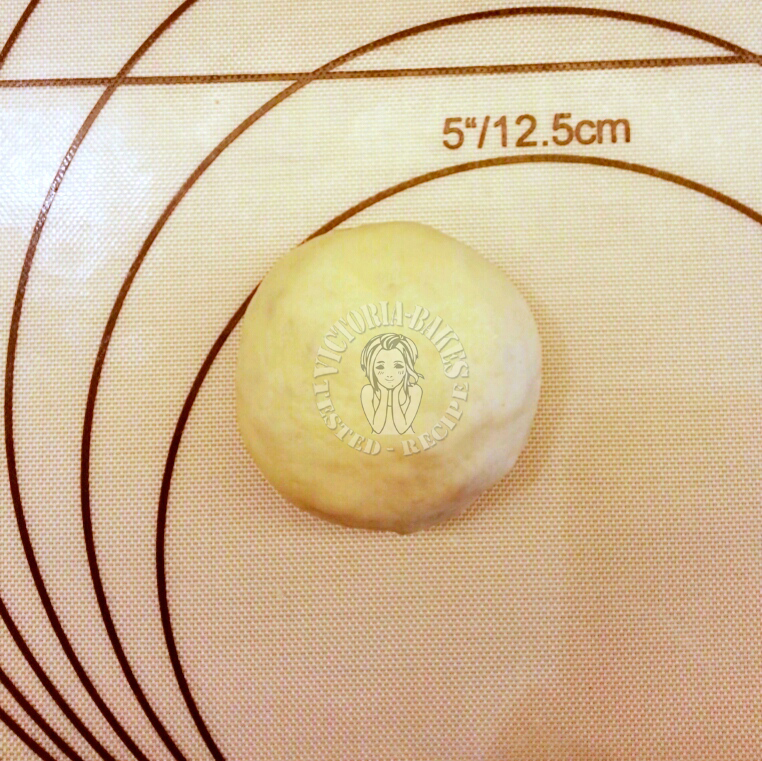
 first, take a 30g dough, and roll it into a disc
将一份 30克面团擀成圆面皮
 place some chopped bak kwa in the middle of the disc
面皮中央摆放一些剁碎肉干
 seal seams and roll dough gently, but tightly into a ball. this forms the body
收口封紧、搓成圆球。这形成了小猪的身体
 next, take the 20g dough and roll it tightly into a ball
20克面团搓成小圆球
 flatten it slightly into an oval shape ~ this will be piggy’s head
轻轻将其稍微压成椭圆形,形成小猪的头
 then attach the head to the body
将头粘到身体上
 roll some of the remaining dough into a flat sheet
剩余(多余)的面团擀成长面皮
 then using a small round piping tip…
运用小圆形裱花嘴。。。
 punch out button-like shapes (use base of piping tip to cut the big circle, and smaller tip for nostrils) from the dough. this forms the nose
在面皮裁切出纽扣形面皮(裱花嘴底部裁切出圆形后,转用裱花嘴那处切出两个小孔做鼻孔)。这形成小猪的鼻子
 stretch the nose slightly and attach it to the face
鼻子面皮稍微拉松后粘到面部上
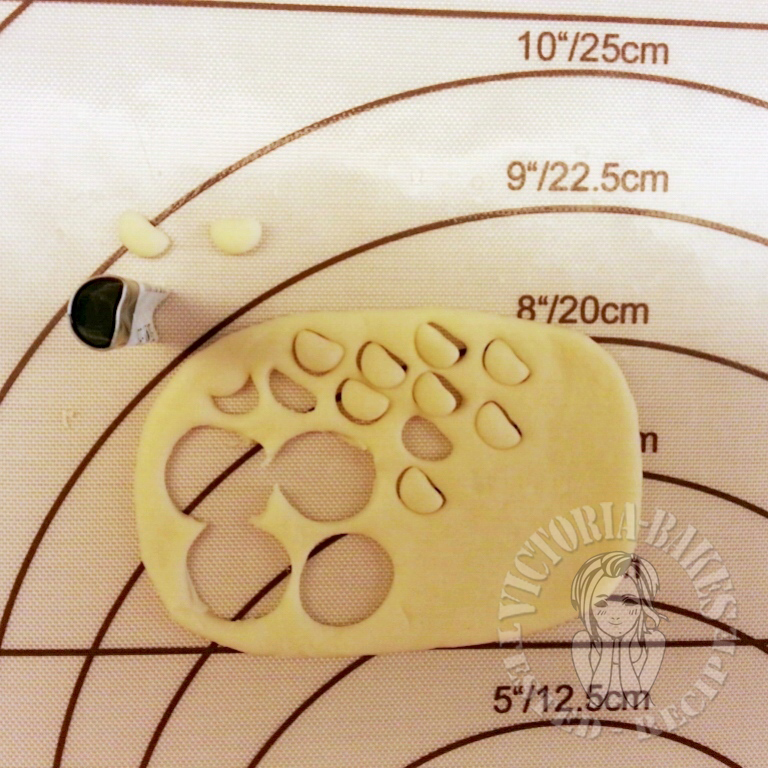 cut out bits of semi-circle dough using fondant cutter….
运用半圆形裱花嘴切出半圆形面皮
 … and attach it to the head to form the ears
将其粘到头上做耳朵
 finally, roll remaining dough into teardrop shape and attach the smaller end to the bodies to form the piglet’s limbs. snip the wider end into half
最后,将剩余的面团搓成数小个泪形面团,将尖处粘到身体上,在用剪子将宽处剪成半。这形成了小猪的脚
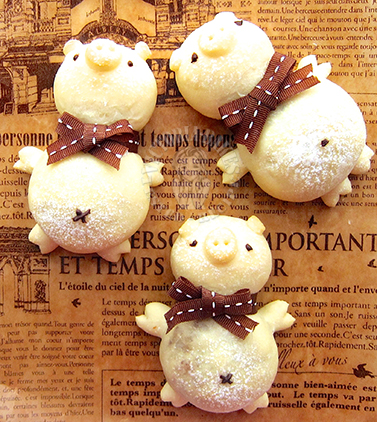
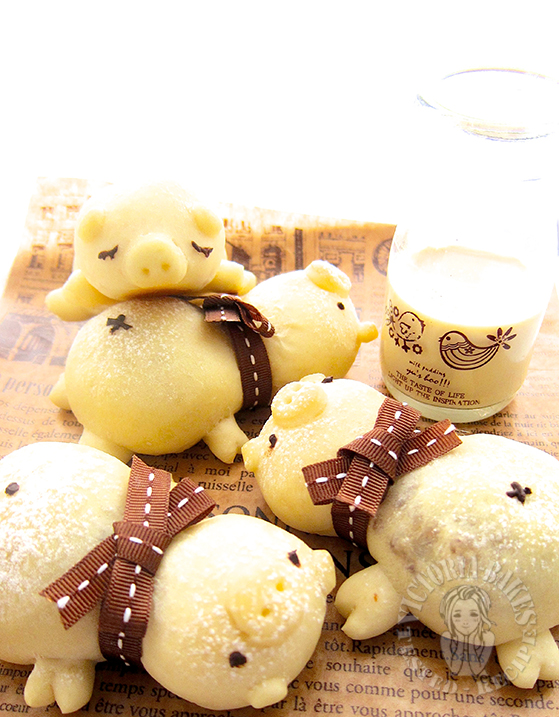 .. and finally pipe eyes and belly button with melted chocolate onto pigs after sifting flour on them (i.e. before baking)
烘焙前在小猪脸和肚子撒上面粉,然后用融化巧克力点上眼睛和肚脐
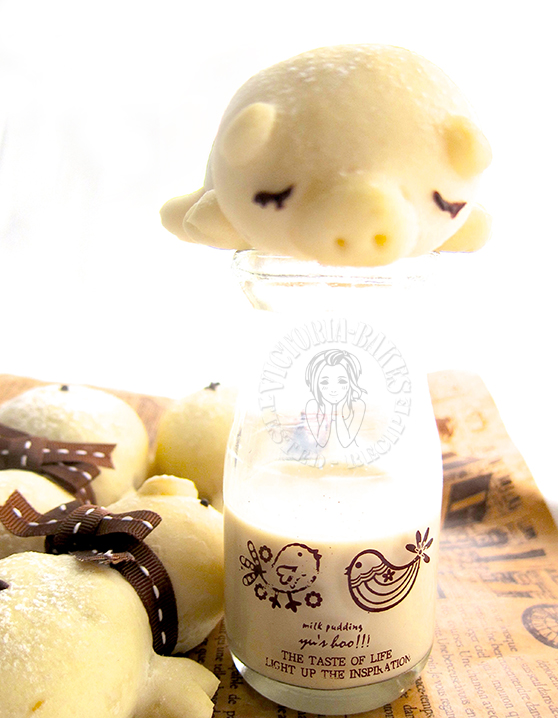
so which piglet do you prefer? i love the sleeping one (*´(00)`)’
Pollution index: 17 (excellent)


这个🐷🐷一定不要错过!真的无法形容呀!
小J看见后说:妈咪,这包要从哪里吃起呀。嘻嘻...
到我在尖叫了!我的妈呀!太可爱了!!
How brilliant of you to incorporate the bak kwa bits into the bread buns as filling.
they are too beautiful to eat!
这些小猪猪面包太可爱了吧!
可爱到。。。。
就是刚才看的时候,奇怪做么烤面包
面包还是“白雪雪”的 XD
啊。。。你真是不得了! 什么动物都能变出来, 太棒了!
太可爱的小猪仔了,我还以为是玩具玩偶呢。。。
太可爱了啦!棒到不行的一双巧手。
原来V你在北京呀!!!
我们这也一个月没下雨了,等着政府下个星期人工造雨呢,现在天上连片厚云朵都没有呀。。。。
好可爱的小猪,让我想起三只小猪的童话故事,哈哈哈哈。。。。
太犯规了啦!!!简直可爱到翻天!!!!
You\’re so creative…lovely buns… I can never make these…. please give me a piglet…
hello,怎么那么厉害啊?看傻眼了。
这个真是cute到。。。 i really speechless:)
Very impressive! What\’s your next creation? 😀
OMG, these little piggies are soooooooo cute. You see how long is my \”so\” you know I\’m not lying, hahaha! I love their belly button, so cute! Would love to have a few of these bread for my breakfast please!
看到你的巧手…就觉得自己很低能…真虐心啊!
索性开个店子嘛…我一定带隊购买