
 have you tried this today? no? then you bettaaaa…. it’s really good
今天做了么?还木有?赶紧开炉。。真的好次!
recipe adapted with modifications from/食谱经调整取自于:Baking Taitai
ingredients (6 inch round pan with removable bottom)
 40g egg yolk c. 2 large egg yolk
40ml coconut oil
62g cake flour, sifted twice
100g cream cheese, diced
100ml full cream milk
140g egg white c. 3.5 large egg white
60g caster sugar
食材(6寸圆形活动底烤盘)
 蛋黄 40克,约 2颗大蛋黄
椰子油 40毫升
蛋糕粉 62克,过筛两次
奶油奶酪 100克,切小块儿
全脂奶 100毫升
蛋白 140克,约 3.5颗大蛋白
绵白糖 60克
Directions/做法
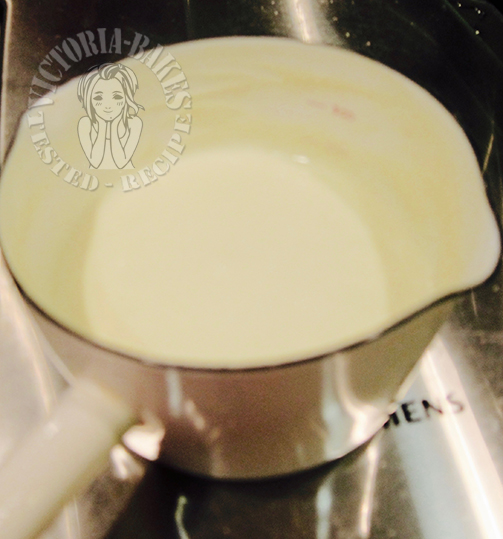 place cream cheese and milk into saucepan. heat and stir over low heat till cream cheese has totally melted
奶油奶酪块儿和牛奶放入奶锅,以小火加热搅拌直到奶油奶酪完全溶化
 sift cream cheese mixture to remove lumps. set aside to cool slightly
奶酪浆过筛一次以去除颗粒。略冷却
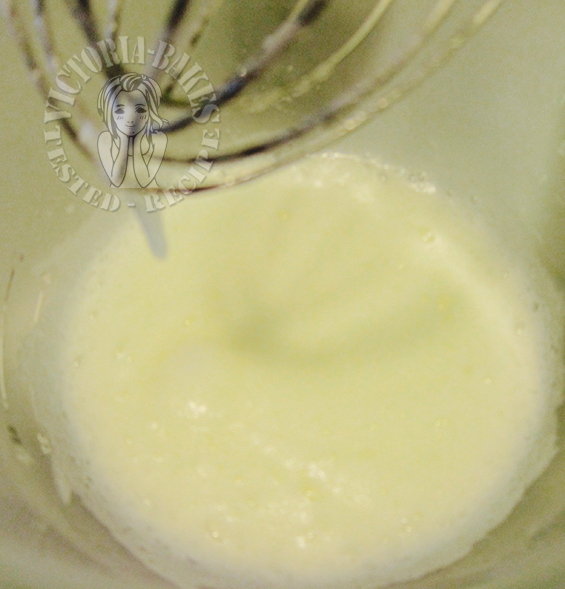
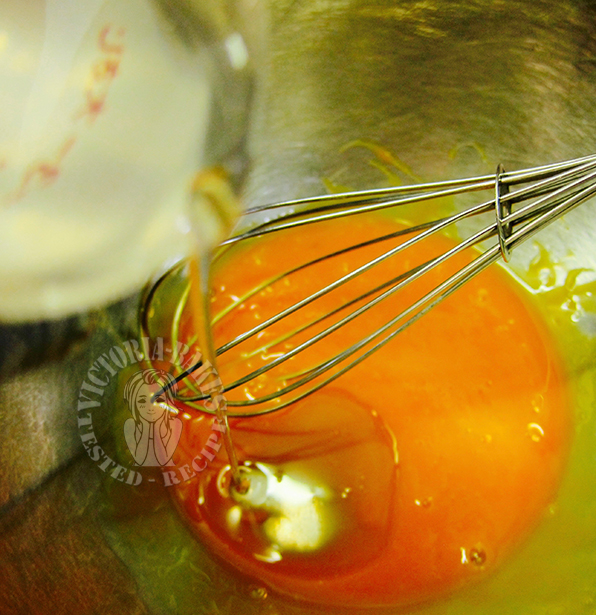 beat egg yolk briefly then add in coconut oil. whisk to mix
蛋黄打散后加入椰油。拌匀
 pour in cream cheese mixture. mix well
倒入奶酪浆,拌匀
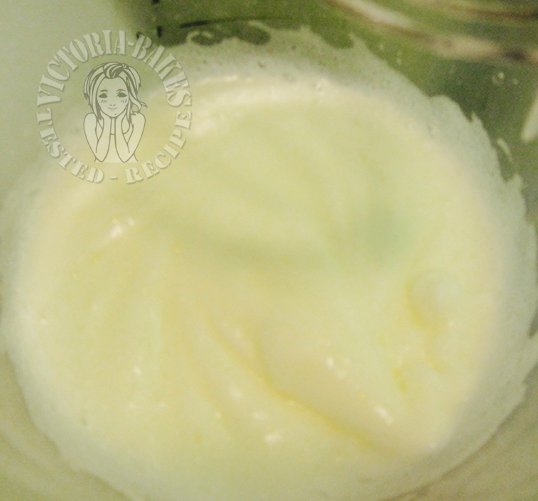
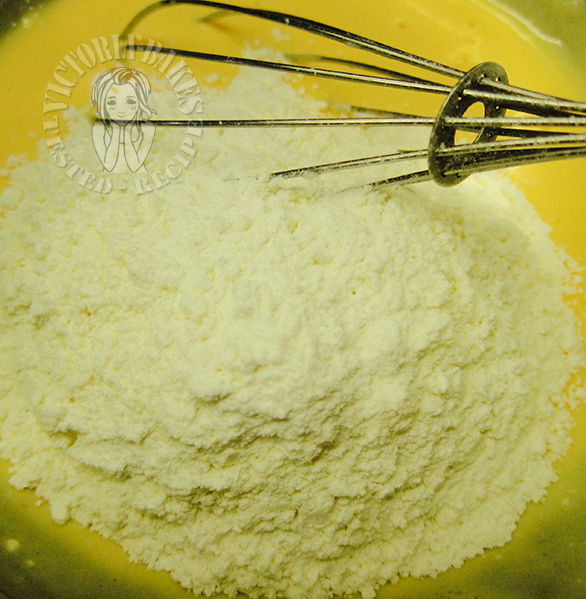 add in flour, and whisk till batter is no longer lumpy. it should be in ribbon stage
加入面粉并搅拌至面糊无颗粒。面糊捞起时应留下痕迹
 beat egg white till frothy and add in 1/3 portion of sugar. continue whisking on high speed
蛋白以高速打至鱼眼泡后加入三分之一份量的糖。继续打发
 when it turns opaque, add in second portion of sugar. continue to whisk on high speed
蛋白打发至暗淡不透明后,加入第二份糖。再次以高速打发
 when it has become thick and beginning to take shape (it will still appear wet), pour in the last portion of sugar
蛋白霜开始定形后(还是湿润形的哈),加入最后一份白糖。打发
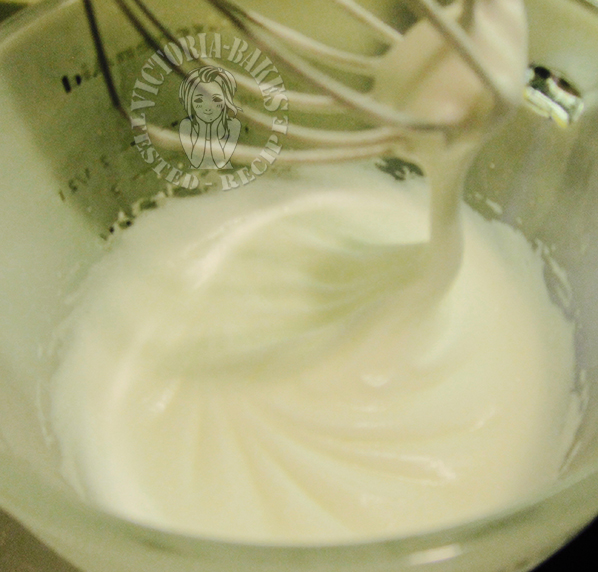 whisk till stiff and shiny peaks forms, then turn to low speed and whisk for 1 min to remove air bubbles
打发至湿润、硬性状,捞起时留下钩状即可。转低速搅拌一分钟以去除大气泡
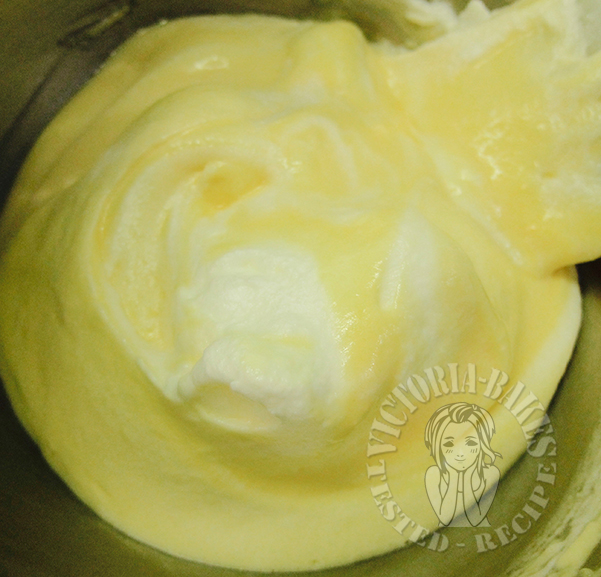 add egg white meringue in 3 portions to egg yolk batter. fold well with spatula after each addition
蛋白霜分三次加入蛋黄糊,每加入一份,以刮刀拌匀后再加入另一份
 the ready batter should be thick and fluffy
做好的面糊非常蓬松
 you will have about 2 tbsp of leftover batter
这 2大匙面糊。。额。。挤不进去啦
 pour batter in pan and tap lightly on tabletop
level surface with spatula
bake in second lowest rack of 180 degrees C preheated oven for about 60-65 mins (i baked mine for 62mins)
面糊倒入烤盘,在案板上轻拍数下
表面用刮刀刮平
送入预热至 180摄氏度倒数第二层烤箱烤约 60-65分钟(我烤了 62分钟)
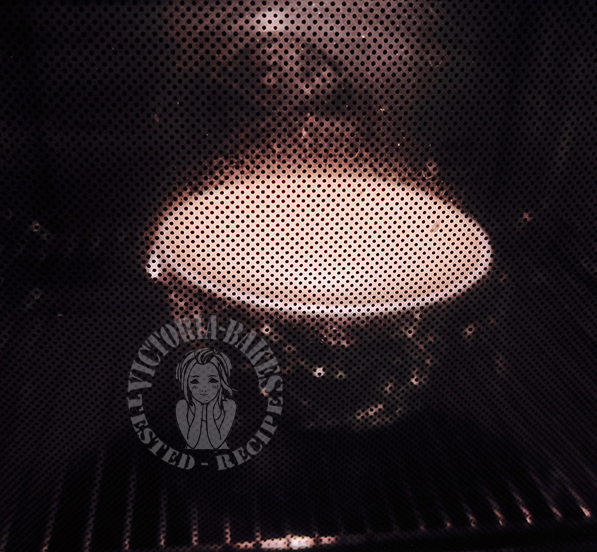 to make hot cross cake, wait for the skin to develop.. about 7th min into baking time
you can see the cake will have risen
制做拜拜蛋糕需视蛋糕表面结皮在下手~ 约烘焙时间的第 7分钟后吧
以上看得出蛋糕以开始膨胀
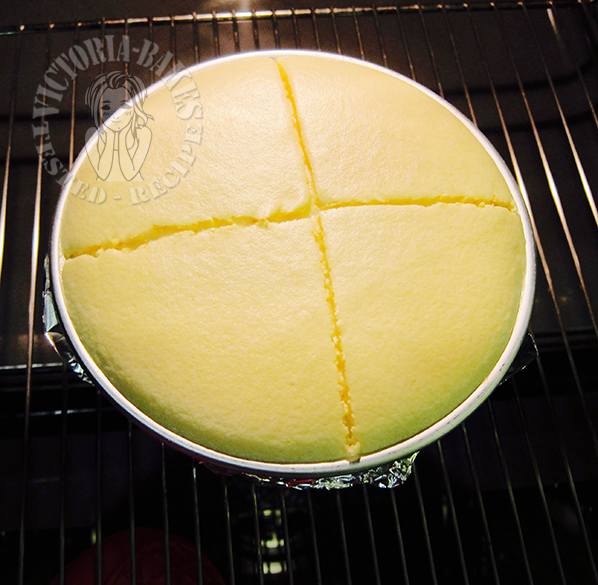 pull tray out from oven and draw a cross. yes, cake is still in oven, but door is opened. return cake into oven immediately after crossing the cake
烤箱架子连烤盘从烤箱拉出,在蛋糕体划上“+”标志。是。。蛋糕不要完全从烤箱取出。烤箱门敞着,划上十字架,然后立马将蛋糕送回烤箱
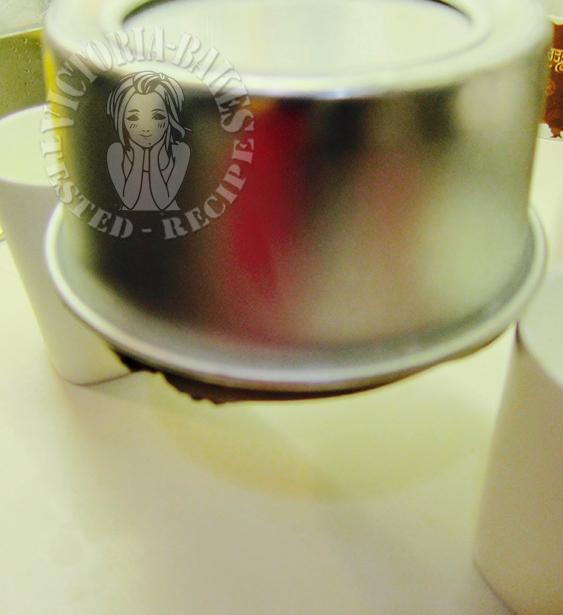 drop pan from a height of 10cm after removing from oven and invert to cool
蛋糕取出后从 10厘米高处连盘往下掉,然后倒扣待凉
Personal notes/温馨小贴士:
 – this cake is my second attempt. first attempt, i simply halved the recipe ~ it didn’t work out at all. it is hence, crucial for you to understand your flour characteristics. i am using nissin violet flour and realised i had to reduce it for this recipe to work for me. just remember that your egg yolk batter should be in ribbon stage and not porous and dense
这蛋糕是第二次烤滴。第一次直接将原食谱减半。。失败。根本不是这么一回事儿。。各家面粉性格不同。我用的是日清薄力小麦粉,发现面粉量需往下减才行得通。所以建议加入面粉时,分次加入搅拌。最终的蛋黄糊捞起时一定要留下痕迹并不含大气泡或感觉黏性
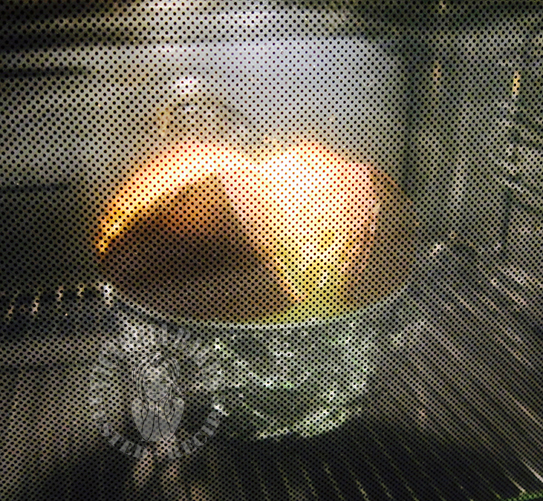 this is how my cake look like after 40 mins of baking. i was tempted to take the cake out as the surface had seemed to brown but the cracks didn’t seem dry. if you see specks of “glitter”, the cake is definitely not done
if you attempt to open the oven door to test for cake doneness, i can tell you, it is a very wrong move as your cake will deflate faster than you read this
烘焙 40分钟后的蛋糕。。哇噻。。。其实这时,蛋糕已经挺上色了。。但你要是看见蛋糕缝隙中有类似闪闪发光的小亮点,那,蛋糕肯定没熟透。你要试着这个时候抽出蛋糕插入竹签试探蛋糕熟透没,那,送你仨字~完蛋了。。蛋糕务必消气
– i tented the cake by the 50th min of baking
蛋糕烤了 50分钟后,我加盖了锡纸
– you can bake this in a 7 inch round pan but adjust baking time accordingly
蛋糕可用 7寸圆形烤盘烘焙。烘焙时间需做适当调整
– baking time and temperature is for reference only
烘焙温度和时间仅供参考


这拜拜蛋糕啊, 我是甘拜下风了, 拜不到啊! 呜呜。。
亲亲你的拜拜蛋糕, 我只能看了又看!
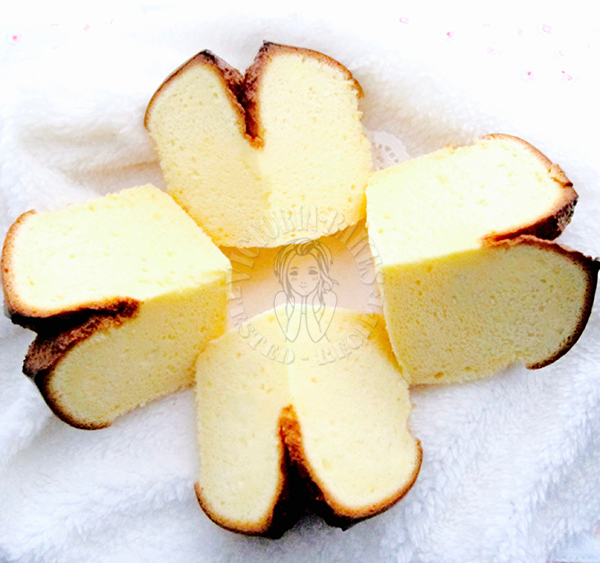
可爱的切法。。。组织细致得无法挑剔 啦