
 saw this recipe when i was web surfing.. i thought it was really interesting..
and as i was through making it… it just dawned on me.. did i just not make a cotton cake?
某天在网上看见这么一个食谱~有趣~~有趣~~
做着做着~~不就是棉花蛋糕么?
recipe adapted with modifications/食谱经调整取自于: 爱料理
 ingredients (8 inch square pan, lined with parchment paper)
100g unsalted butter
140g cake flour, sifted twice
150g full cream milk
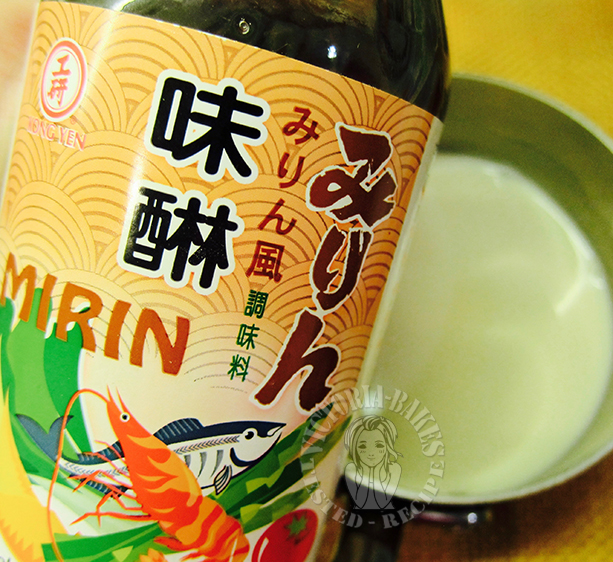
40g mirin (omit if you do not have this ~ i added to give it a slightly chewier texture)
8 large egg yolk + 1 large egg, whisked together
20g vanilla paste
8 large egg white
130g caster sugar
20g lemon juice
peanut butter (optional)
 食材(8寸方形烤盘、铺上烘焙纸)
无盐黄油 100克
蛋糕粉 140克、过筛两次
全脂奶 150克
味醂 40克(可免~我加入是为了增添口感)
蛋黄 8大颗+鸡蛋 1大颗、略打散
香草糊 20克
蛋白 8大颗
绵白糖 130克
柠檬汁 20克
花生酱(可免)
Directions/做法
 mix mirin with milk. stir and set aside
牛奶中加入味醂。拌匀、待用
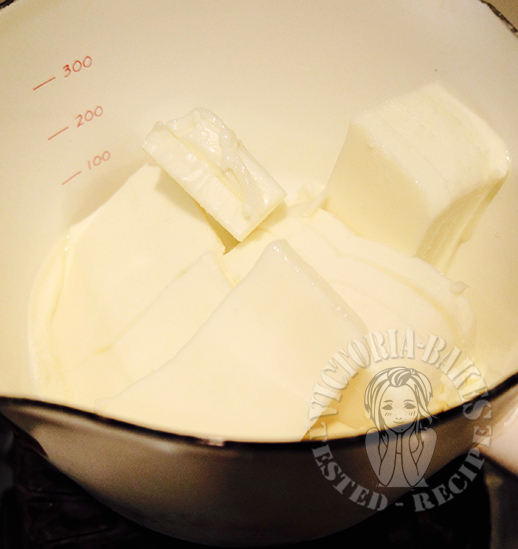 melt butter in a saucepan
黄油放入奶锅、完全溶化
 pour flour into melted butter and mix quickly till you get a dough
溶化黄油倒入面粉、快速拌匀和面


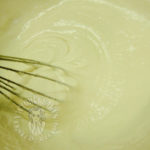
add milk in a few additions
blend well after each addition
牛奶分次加入
每加入一份后充份搅拌再加入下一份牛奶
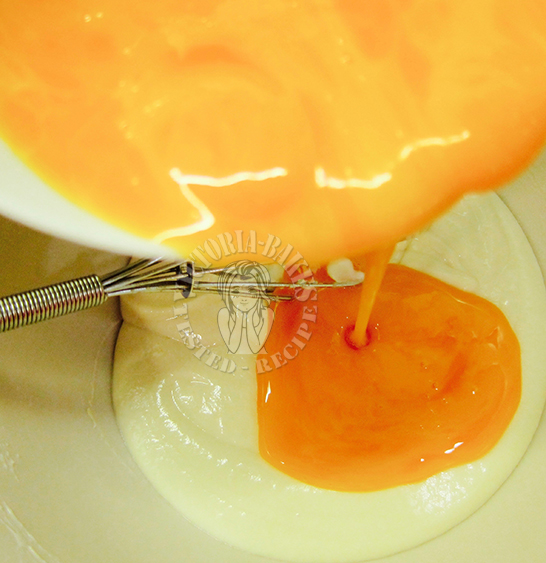 pour in whisked egg yolk in 3 additions and mix well
打散的蛋黄+鸡蛋液分三次加入黄油糊。拌匀
 finally stir in vanilla paste
最后拌入香草糊
 set aside egg yolk batter
做好的面糊待用
 whisk egg white till foamy then add in 1/3 portion of sugar and all lemon juice
蛋白打发至鱼眼状、加入三分之一白糖和所有的柠檬汁
 continue beating till it is thick
add in second portion of sugar
继续打发至暗淡色后加入第二份白糖
 beat egg white till soft peak then add in final portion of sugar
蛋白打发至软性状后加入最后一份糖
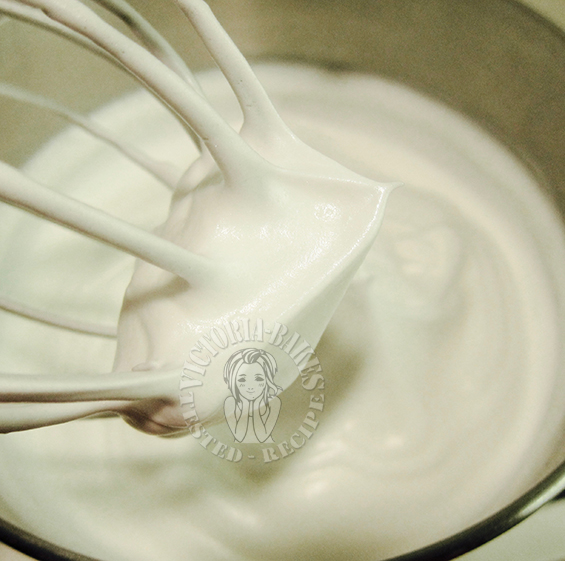 beat till stiff and shiny peaks, then turn mixer to low speed
stir for 1 min to remove trapped air bubbles
蛋白霜继续打发至湿润、硬性状后转低俗,搅拌一分钟以去除大气泡
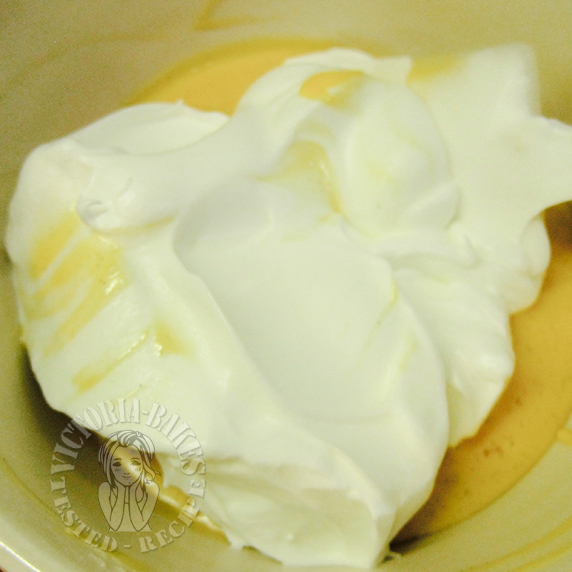 add one third portion of meringue into egg yolk batter
蛋黄糊拌入三分之一蛋白霜
 fold well
拌匀
 pour the entire egg yolk batter into egg white meringue
将所有蛋黄糊倒入剩余的蛋白霜内
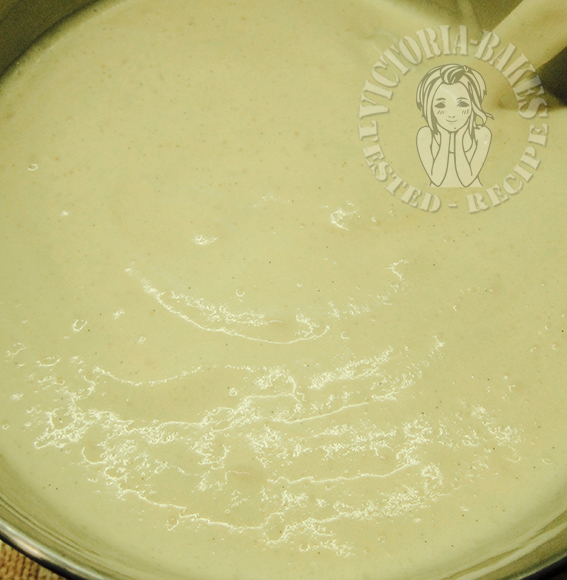 fold well once again
do not over do it
翻拌均匀
不要过度翻拌
 pour batter into lined pan, and tap it lightly to remove air bubbles
level surface with a spatula
面糊倒入铺上烘焙纸的烤盘后在案板轻拍数下以去除气泡
表面刮平
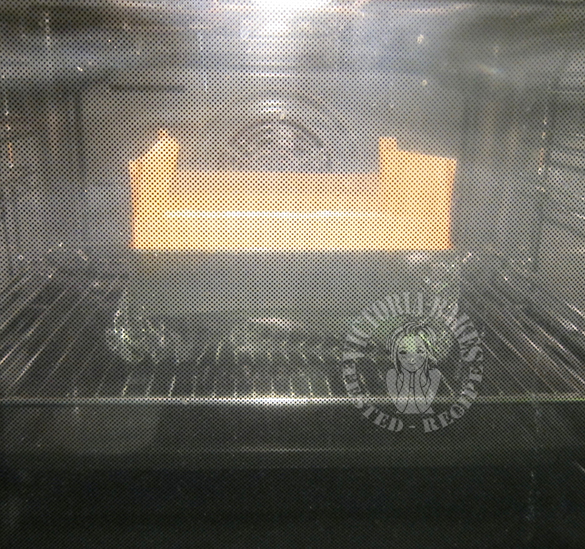 bake using steam bath method, second lowest rack of 190 degrees C preheated oven for 10 mins
(i placed a tray of water on the lowest rack)
adjust temperature to 170 degrees C and continue baking for 15 mins
(surface of your cake will be browned by then)
then turn down temperature to 155 degrees C and bake for another 55 mins
(baking time and temperature is for reference only)
蒸烤法,将蛋糕送入预热至 190摄氏度倒数第二层烤箱烤 10分钟
(我在烤箱最底层放了一盘水)
降温至 170摄氏度需烤 15分钟
(蛋糕表面开始上色)
后转 155摄氏度续烤 55分钟
(烘焙温度和时间仅供参考)
 once cake is baked, turn off oven
do not remove cake. allow it to sit inside for 5 mins
after 5 mins, open oven door slightly and wait for another 5 mins
蛋糕烤熟后将烤箱熄火
蛋糕继续在烤箱里焖 5分钟
5分钟后,将烤箱门稍微铲开。再等 5分钟
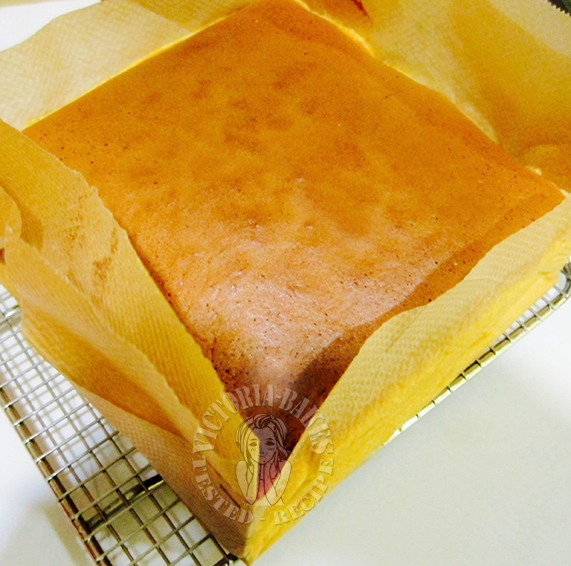 remove cake and lift it out from the pan
allow to cool on wire rack
(or invert if you like to have rack lines on the surface of cake)
蛋糕取出、将其连烘焙纸从烤盘取出
放置冷却架待冷却
(想要制造纹路可在此时将蛋糕倒扣在冷却架上)
 once cake has cooled, slice into half
蛋糕冷却后分割成两片
 spread peanut butter onto a slice of cake (if using)
一片蛋糕体抹上花生酱
 then top it with another slice of cake
盖上另一片蛋糕
 ok la~~
口以啦~~


服了你呀亲,怎么每个蛋糕都是这么的perfect, 真让我羡慕呢!
我呀, 好久好久没烤这类的蛋糕了, 不敢多吃也不敢多看, 嘻嘻。。。
What\’s the texture of the cake? Mine is a bit moist and didn\’t rise very much. For half a recipe, what is the size of the cake tin should I use?
Thank you
It\’s very soft. I left it out to dry before slicing. Definitely not wet. For half recipe, u can try using six inch square pan
can bake it without milk?
Is there a lactose intolerant issue you may face here? If so, substitute with soy or almond milk .
ok thanks
Do we add the cake flour into the hot melted butter or must wait for the melted butter to cool down abit?
Cake flour right into hot butter. This is called 烫面 in Chinese or cooked dough method
Hi
If i want to bake using two 6\” round pan, do i need to alter the baking time and temperature? (Since the height of each pan is half of the normal size pan) Thank you!
Hi ~ i will not change the temperature. yes do adjust time accordingly
May I know what the height (in cm) of ur pan? Seems to be so tall..
hi~ pan is 7cm. the cake does rise (quite a bit) during the baking process as well
Hi. My egg yolk batter wasn\’t smooth at all. I had little balls of dough which just couldn\’t be combined with the whites. May I know what went wrong ?
Thks.
Hi Hazel, I suppose what happened was that the milk and flour/butter dough wasn\’t well mixed. This resulted in a slightly lumpy batter before your whites can be incorporated. You have to whisk really hard. If you have challenges doing this manually, use an electric egg whisk. After that, sift batter to Ensure yolk batter is smooth before folding in whites. Hope this help