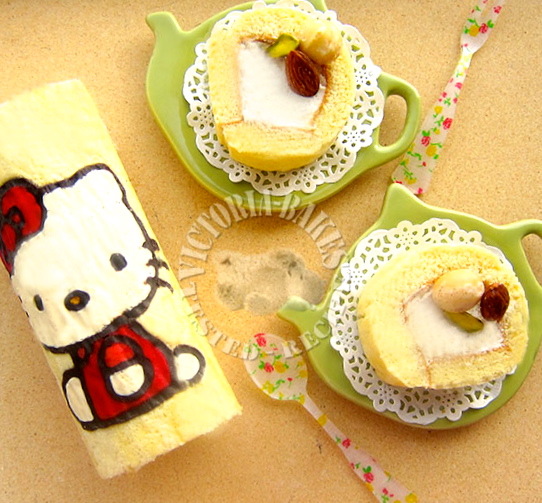
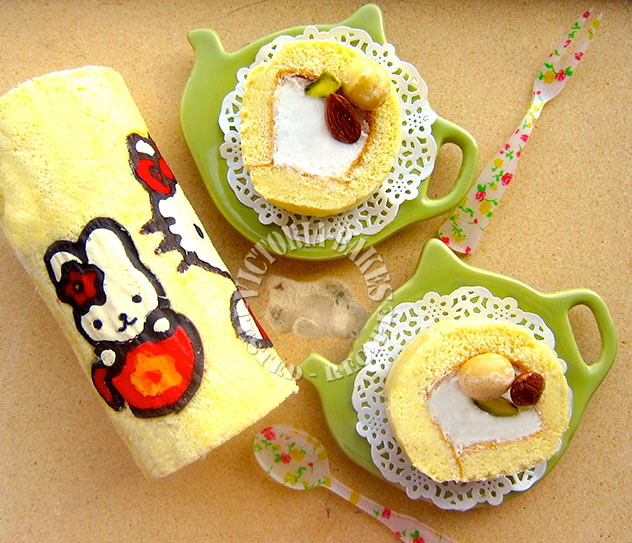
absolutely no idea what was going through my coconut brain… everything went well until the rolling bit (yes, the last bit)… i should have done the horizontal roll instead of vertically (still thinking about Winnie the Pooh) (*≧m≦*) … and the result? you see kitty but not the bunny…. plus, the roll is angular… urgghh…. ᕙ(⇀‸↼‶)ᕗ disaster…
the other half of the cake?
here…..
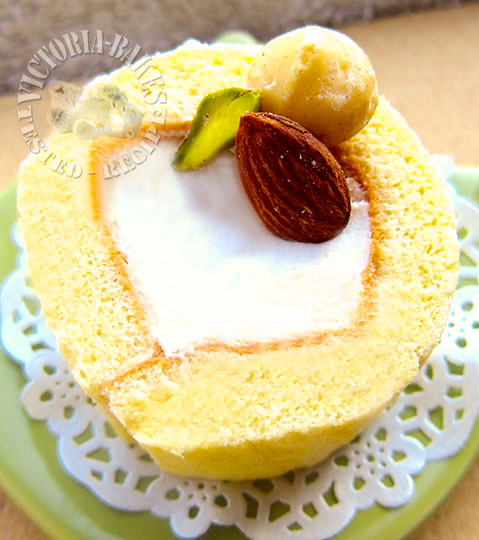
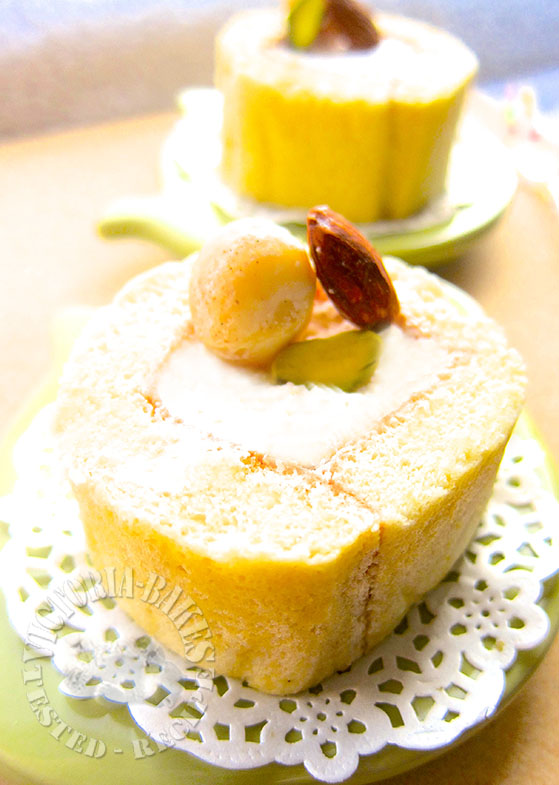
this is the same swiss roll recipe as my Little Twin Stars Swiss Roll, except that i omitted the chestnut flavour in the cake batter, and added 1 tsp vanilla extract, 1/2 tsp chocolate essence and some chopped almonds to the whipped cream.
I am no master in swiss roll but the following is shared with you based on my humble experience
How to make your own painted swiss roll:~
1. choose your desired image from the internet
2. set the image so that it is L 19.8 cm x W 13cm on an A4 size paper
3. print image
4. grease pan and place the entire A4 size paper on the pan. Make sure you centralize it (note that you will need to trim the top and bottom of the A4 paper slightly to fit into the pan)
5. grease paper and place parchment paper on top
6. prepare painting cones (these are paper cones made out of baking paper)
7. prepare batter and 1 egg white meringue
8. prepare “paints”: ~ You can make an estimation of the mixture required for each of your colour e.g. for outline of images, i used about 2 tsp of egg yolk mixture, and mixed with slightly more than 1 tsp of dark cocoa powder. As cocoa powder in itself can “thicken” the mixture, it makes the mixture ready for painting. For other colours like red or yellow, you will need to tint the egg yolk mixture first, then add some cake flour, food colouring and then egg white meringue to the mixture. Stir till you get the desired consistency. General rule of thumb, about 1/2 tsp egg yolk mixture + 1/4 tsp cake flour + food colouring. Egg white meringue can range from 1 – 2 tbsp
9. remember the key is to paint the outline first, then small parts, medium portions, then the large paintings. Bake everything for 1.5 mins except the large portions, which will take about 2 mins
10. once painting is done, pour batter into pan. i had the painful experience of pouring and when spreading the batter, i pushed away some of my baked image. It’s a heart pain… so these days, i use a massively big ice cream scoop to scoop the batter onto the pan. i realised this also help me level my batter easier
11. once batter is in pan, i slam my pan onto the floor a few times to remove excessive bubbles and then pat the bottom of the pan slightly before putting into the oven
12. baking the cake ~ i bake the cake till it is very golden brown ( i needed to bake around 20-23 mins for painted swiss rolls ~ not applicable for non-painted swiss rolls). The reason is because if your cake is still slightly damp on the bottom, your painted image (especially the tiny parts) will stick onto the parchment paper and crack away from the cake
13. cooling the cake ~ line a fresh piece of baking paper on a cooling rack, place it on top of the baked side of the cake (not the image portion) and invert your cake immediately. Carefully remove the paper from your image. If part of your image sticks on your parchment paper, place paper back onto cake and try to use your nails to scratch on the paper lightly to see if your image “sticks” back to the cake. Once paper is removed, place it back onto the cake and let it cool completely
14. prepare whipped cream and fill cake. Roll away! (don’t make the same mistake as me….. roll it the right way (◕〝◕) ). Chill and serve…
15. please note the above is based on a 25 x 25cm baking pan.. with painted swiss roll, you want to have a big “O” roll so that your painting can be displayed properly
Have a good weekend peeps!
☆.。.:*・°☆.。.:*・°☆.。.:*・°☆.。.:*・°☆
Pollution index: 155 (unhealthy)


