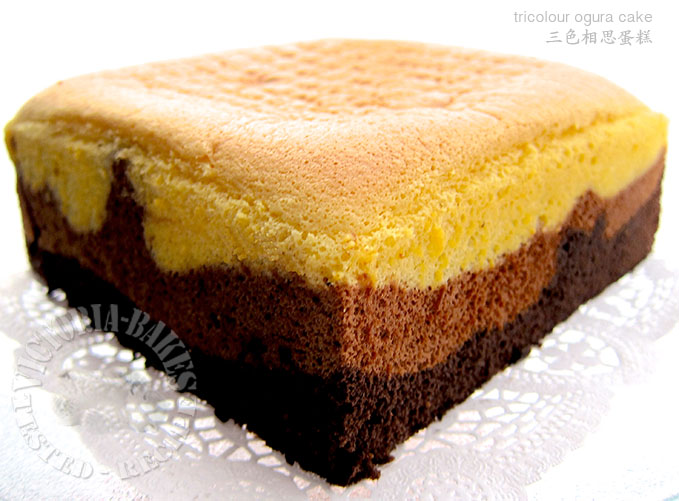
 i’d always wanted to bake a dreamy ogura cake…. my previous ogura cakes did not oooo-gooo-ra enough.. you know, like not tall… I realised the organic eggs i used here are much smaller than the normal ones. Not that I didnt know but its just one of those things you don’t bother to fix (since I really need good eggs)… anyways…. I’d decided to bake this in a 6 inch pan which worked out pretty good.
Original Recipe from http://www.unpastiche.com/2012/12/tricolor-chocolate-ogura-cake-三色巧克力相思蛋糕-or-xiangsi-cake.html
Ingredients (Makes a 7″ square cake)
Adapted from Siew Hwei, but do check out Sonia’s for very useful pictures and tips for a successful cake
A:
45g neutral-flavoured oil (I used sunflower oil)
55g milk
¼ tsp salt
100g egg yolks (or yolks from 5 eggs)
65g all-purpose flour
½ tsp vanilla extract
B:
150-170g egg whites (or whites from 5 eggs)
65g castor sugar
½ tsp lemon juice
 Directions
- Place the rack at the second-lowest (slightly below the middle) position and preheat the oven at 160°C. Set the other rack at the lowest position.
- Place all the ingredients in A in a small mixing bowl. Mix well and separate the batter into 3 equal portions/bowls. Mix the cocoa powder and hot water (from C) together, making sure there are no lumps. Mix it into one portion of the batter and set aside. Repeat for D and another third of the batter. Finally, add milk into the final third of the batter and set aside. You should now have three bowls of batter in 3 different shades – yellow, light brown and brown.
- Place all the ingredients in B into another mixing bowl, and using your handheld or stand mixer, beat until you get stiff peaks. Divide the meringue into three equal portions and fold each third into each of the three bowls of batter, making sure to fold gently until all the meringue has been incorporated.
- Starting with the darkest batter, pour it into a lined square pan (I used a 7″ square pan). Next, pour in the light brown batter followed by the yellow batter. Lightly tap the pan against the counter to remove any air bubbles.
- If you have two racks, place a tray of water on the lowest rack, and place your cake on the second-lowest rack to bake. If you only have one rack, you can place your cake into the tray of water and bake on the second-lowest rack or you can use small tart moulds or microwave safe bowls filled with water at the side of the pan to bake.
- Bake for approximately 45 minutes at 160°C, or until a cake skewer comes out clean. Remove the cake and allow it to cool in the pan for at least 15 minutes before inverting it and removing the pan and liner. This is to ensure that the bottom does not deflate and that moisture does not collect on the liner, making the bottom of the cake wet and sticky. Allow the cake to cool completely on a wire rack before consuming.
Personal notes:
– I baked mine in a 6 inch square pan, and lined the bottom of the pan with 3 layers of foil and placed my baking pan directly inside a bigger pan with water (filled to half the height of my baking pan)
– I baked at the second lowest rack in the oven
– I DID NOT LINE OR GREASE MY PAN AT ALL (don’t worry about unmoulding)
– I baked at 150 degrees C for 30 mins the 160 degrees for another 30 mins
Well, the cake sank a little in the middle but it is still tall and nice 😀
Try this out and do remember to check out Sonia’s notes! it’s very very helpful!
Pollution index: 70 (good)


Hi Victoria. So do you need to level and smoothen the 1st layer before adding the next layer??? Also I notice that this cake is not inverted upside after removal from oven but left to cool in pan unlike your other ogura cakes. Yours is perfect with no shrinkage so I am quite confused as to which removal mrtof to avoid shrinkage. Thanks for your help.
Sorry, can\’t recall if i levelled the layers, but i believe no since i did not indicate.
Pls revert back up. This is one of the earlier attempts. As u can see, the centre shrunk which i mentioned in the post. Do check on thw later ogura post as theres where i hv more experiences
Thanks for your help. To me your bake is perfect