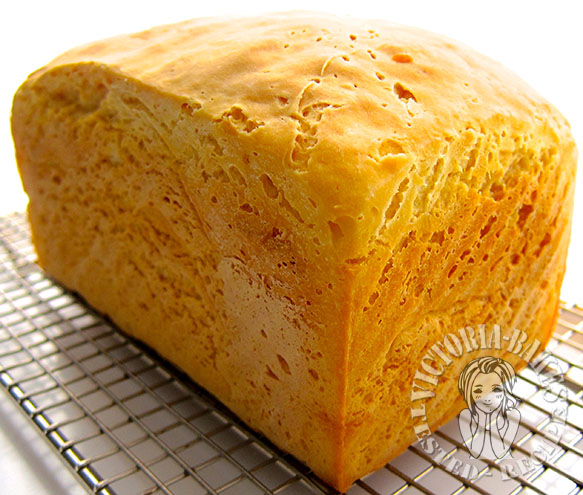
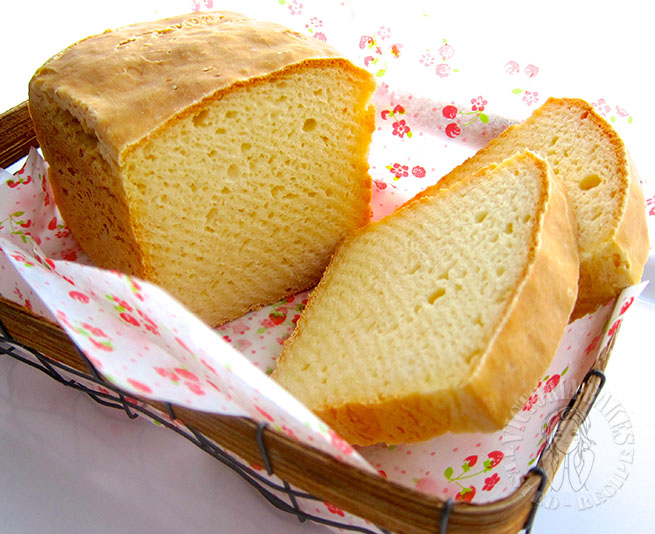
 ok… i hv a confession… and the confession is that i’m actually a gluten free consumer o((*^▽^*))o.. when i say gluten free, i mean wheat free, gluten free. no reason.. and no, i do no have Celiac disease.. i just wanted to go wheat free…. so what does it mean when i say my bake taste good? believe it or not, i taste the raw batter (◑‿◐)… yup.. and i do usually have a test sample that i “eat” after it has been baked… but i put it out after chewing ….
anywayz… after i gone gluten free, the first thing i missed was a decent loaf of bread… wheat like sugar, is the biggest drug on earth isn’t it?…. and i finally tasted the best gluten free bread when i was in Mandarin Oriental Bangkok… it was so good… the chef told me it was made of rice flour, tapioca flour, corn flour (which i dislike) and perrier (?!? ~ i still do not have the courage to try this at home)….
after i heard this, i tried baking lots of gluten free bread but have never succeeded getting “the loaf”… and finally, i grounded my very own flour mix (i love tapioca starch because it gives the bread chewiness),… PLUS i found this awesome recipe… for various reasons… because it uses water roux, and very little eggs…. i really wanted a whitish looking loaf!
yes, i’m chatty today because i am extremely excited…. you must.. you’ve gotta try this…
Gluten-free flour blend recipe adapted from Land O’Lakes
Ingredients
 2 cups rice flour
2/3 cup potato starch (not potato FLOUR)
1/3 cup tapioca flour
1 tsp xanthan gum
Directions
 – Combine all ingredients in large bowl; stir
– Store mixture in container with tight-fitting lid; stir before using
Gluten free tangzhong Japanese Milk Bread recipe adapted from Gluten Free on a Shoestring
Ingredients
Water Roux
– 47 grams (about 1/3 cup) gluten-free flour and 1 cup water
Dough
– 3 cups (420g) high-quality all-purpose gluten-free flour, plus more by the tablespoon if necessary (and extra for dusting)
– 1½ teaspoons xanthan gum (omit if your blend already contains it)
– ¼ teaspoon cream of tartar
– 4 tablespoons (48g) sugar
– 2½ teaspoons instant (or rapid-rise or breadmaker) yeast
– ½ teaspoon kosher salt
– 1 teaspoon apple cider vinegar
– 1 extra-large egg plus 1 extra-large egg white
– 1 cup warm milk (low-fat is fine, nonfat is not), about 100 degrees F
– 4 tablespoons unsalted butter, melted and cooled
– ½ c (140g) water roux (half the yield of the recipe referred to earlier)*
Directions
– prepare water roux by combining ⅓ cup (47g) all-purpose gluten-free flour with 1 cup tepid water in a small saucepan. Whisk to combine. Cook, whisking constantly, over medium-high heat for about 2 minutes, or until the mixture has thickened to where the whisk leaves a trail visible behind it (see photo). Allow to cool completely. It will yield approximately 280 grams, enough water roux for 2 loaves of bread. Store leftover roux in an airtight container in the refrigerator for 2 to 3 days. Adapted from The 350 Degree Oven: Adventures in Mika’s Kitchen
– Grease a loaf pan that is no larger than 9 x 5 inches and set it aside
– In the bowl of your stand mixer fitted with the paddle attachment, place 3 cups flour, xanthan gum, cream of tartar, sugar and yeast, and whisk with a separate handheld whisk to combine well. Add the kosher salt, and whisk once again to combine. Add the vinegar, eggs, milk, butter and water roux, mixing well after each addition with the mixer on low speed. Once the dry ingredients have been incorporated into the wet ingredients, turn the mixer up to high speed and allow to mix for about 5 minutes. Cover with a tea towel in case any loose bits of dough fly out of the mixing bowl
– The dough should be shaggy and tacky to the touch. If it is wet, add more flour by the tablespoon and mix to combine well until it is no longer truly wet. Turn the dough out onto a lightly floured surface, dust the top with flour, and pat into a rectangle about ½ inch thick
– Divide the dough into 6 equal pieces. Dust each piece with flour, and roll lightly or pat out into a flat disk about ½ inch thick (see photo), sprinkling with flour if there are sticky spots. Fold each disk loosely in half from one short end to the other (see photo). You don’t want to compress the dough at all
– Stand the prepared loaf pan on one short side, and begin to stack the folded pieces of dough one behind the other, the rounded (folded) part facing up (see photo). Handle the dough gently, still taking care not to compress the dough at all. You want it to have room to rise, and to expand in the oven so it bakes evenly
– Right the loaf pan on its bottom, spray the dough lightly with warm water, and cover the pan loosely with plastic wrap. Place in a warm, draft-free location to rise (I use a Brod & Taylor home proofer – see the sidebar) until it has reached about 150% of its original volume. While the dough is rising, preheat your oven to 350 degrees F (for a softer crust, heat the oven to only 325 degrees F, and bake a few minutes longer)
– Once the dough has finished rising, remove the plastic wrap and place in the center of the preheated oven. Bake for about 25 minutes or until lightly browned. Remove the bread from the loaf pan and transfer to a rimmed baking sheet. Return the bread on the baking sheet to the oven and continue to bake until the loaf is firm to the touch and sounds hollow when thumped, another 10 to 15 minutes
– Remove from the oven and transfer to a wire rack to cool completely before slicing and serving
Personal notes:
– i doubled the flour blend recipe to make the above bread
– i used only 1 tbsp of sugar for the recipe and stirred the vinegar into the warmed milk. i let this sit for a few mins before using
– as i used my own flour blend, my dough turned out to be very very sticky and wet. i added 6 more tbsp of flour but it was still wet. from my experience of baking gluten free bread, the batter will usually be silky and sticky instead of bread like dough. hence, i stopped adding flour and poured the batter into a 450g loaf pan. if you are using store bought gluten free AP flour, your batter may turn out like the above mentioned. Feel free to shape the portions into the usual way you would when making a loaf (i.e. swiss rolling the dough)
– my batter doubled in 1 hour
– if you use my flour blend where the batter turns out sticky, do ensure you take time to smoothen the top of the loaf as it will look exactly the same as when it was placed into the oven
– my bread was baked for around 1.5 hours @180 degrees C
chewy chewy chewy!!! i’m can’t wait to make my second loaf! (^O^☆♪
Pollution index: 7 (excellent)


Hi Victoria
There\’s one ingredient Im alien here….xanthan gum. Ive never heard of it at all. I admire you because you always try out something new often and you are always busily and happily working in your kitchen.
Hi Vic,
After visiting your blog for sometimes I started to notice your pollution index meter : ) This bread is 7 which is excellent, that is so great.
Love your gluten free bread loaf. You are just like your bread loaf \’excellent\’
mui
金黄黄的面包, 很闪眼哦!
Hi Victoria , this gluten-free bread sounds interesting ! I\’ve seen more gluten-free products in some baking shops here compare to last year . I think more people in this side of the world are into gluten-free baking just like you 😀
Hi Victoria, this kind of healthy bread is just prefect for breakfast 🙂
Love the orange colour as well!
Hi Victoria,
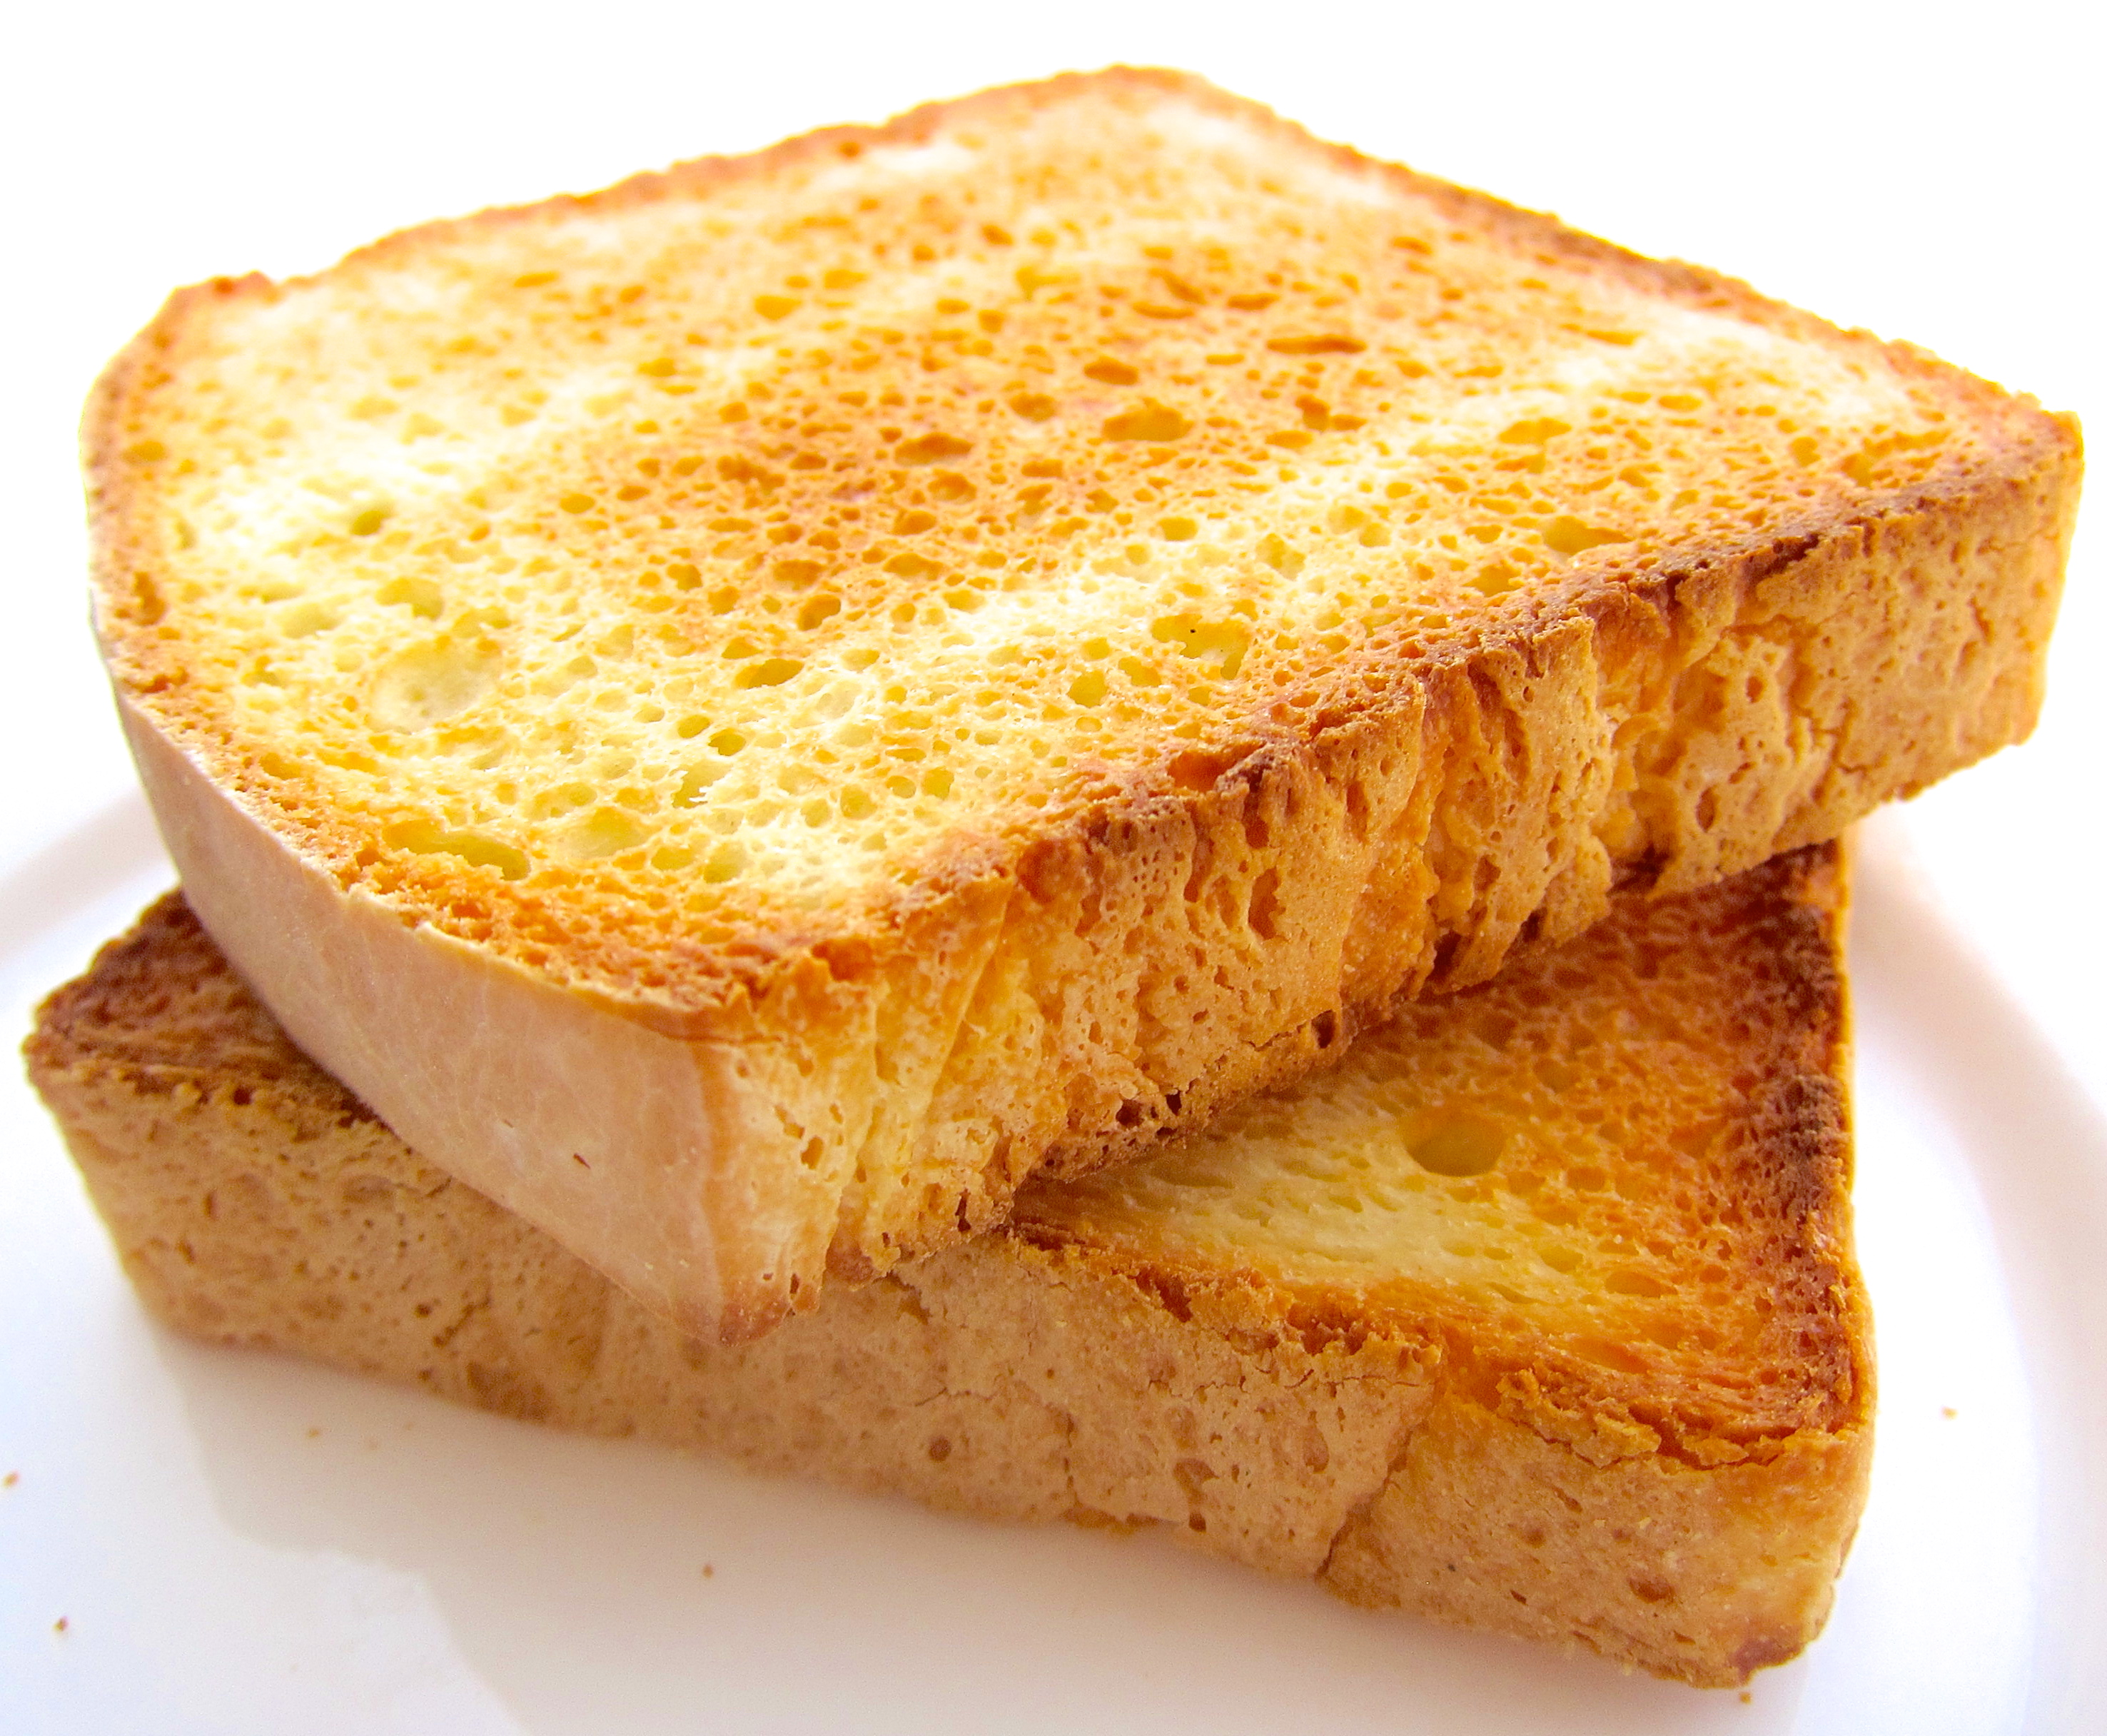
Lovely bread! I have never tried gluten free bread before, though I have been wanting to try one recipe which I\’ve bookmarked for ages, having problem getting one of the ingredients! Will have to wait until I can find it. Your bread looks especially good in the last picture, toasted, perfect for breakfast! No wonder you are getting excited thinking about your second loaf! 🙂
Love your gluten free bread. Sounds so healthy. Definitely love to try this for morning breakfast 🙂
Hi Victoria, I was just wondering what is the best gluten free bread you have baked so far? I am trying out gluten free bread recipes and would love to have a good recipe to start with, thanks!
Hi Janine, how are you? Ok, in terms of favourite, this is my go to recipe (excluding the ham) because it so fuss free https://bakingintotheether.com/2014/12/26/my-gluten-free-christmas-sandwich-bread/
U can use your own GF mix.. recently i used an equal proportion of brown rice, tapioca starch and potato starch. The texture is softer than those thats mainly made up of rice flour. Hope this helps 🙂
Hi Victoria thanks for the fast response! Yup I bookmarked that recipe already and was waiting to see which you prefer 😉 I\’ll bake it soon and let you know how it goes! Thanks and happy CNY 🙂
U hv a gd one too dear 😉
hi so instead of 2 cups of rice flour, 2/3 cups of tapioca flour, and 1/3 cups of potato starch, you suggested an equal proportion of those flour? so how do portion it? and does it foolproof and have softer texture with those with mainly made up of rice flour (2 cups of rice flour, 2/3 cups of tapioca flour, 1/3 cups of potato starch)..
Thank you
Hi there, first off thanks for sharing your recipe. Was wondering if I can replace the eggs with flax or psyllium. One of my kids can\’t have eggs.
hello natasha, this is quite a tough one. i will actually recommending using egg replacer instead of trying to get that \”binding\” replacement from mixing flax or psyllium with water (if that\’s your intention). as much as this work with GF cookies and cakes/muffins etc, it may be a challenge to bind the bread together. apologies i can\’t render much as i do not have much experience baking GF products without eggs. thanks for coming by
Thank you for your reply. I\’ll actually take your advice and let you know how the recipe came out. I do agree that this egg issue is a tricky one 🙂
Good luck and I hope it turns out well for ur kids 🙂
Hi Victoria, Thanks so much for making this bread! My bread is rising right now. But I see in your notes that you doubled the flour blend recipe. Does that mean you used 6 cups of flour in the recipe? or did you double all the ingredients? Thanks!!!
Hi, I doubled the flour blend mix, not the ingredients. If you just make one portion of flour blend mix, you may not have enough for the above bread recipe since you also need flour to make the water roux. I hope this clarifies.
Hi Victoria, i am excited over this gluten free bread, because my 3 children are on gluten free diet! May I please ask on the instruction u stated bake for 25mins then take it out n continue to bake for another 10 to 15mins, but on your notes u written your bread you bake for 1.5 hours @180 degrees C. May I know why is the total baking time in your instruction is about 35mins and in your notes is 90mins, is it because u are baking a bigger bread? Thank you in advance for help!
Hi, I did not alter the recipe. As mentioned, I made my own flour blend instead of store bought. You may like to re-read my third pointer under personal notes. As you can see, the original recipe allows u to shape your dough. Somewhat it didn’t work for me and we know A wet batter takes longer to dry and bake and oven temperature varies from individual to individual. You may not encounter what I did but I hope readers know it’s not a flop even if their batter turns out wet. Just take time to bake it through.
Hope this helps
Wow this looks good and I prefer the ‘look’ of your loaf better than the original where it was shaped. Would you know if the milk & butter can be substituted with non dairy options? Am thinking rice milk & coconut or olive oil. Baking for my daughter, she can’t take dairy.
Hi, I will probably use coconut oil in this recipe if needed but for rice milk, I cannot guarantee the same texture as rice milk is extremely low in fats. I would suggest you try a gluten free, paleo recipe instead which is seriously good as well
i have a question. you have 1 tsp xantham gum in your GF flour blend. so do you still add another the 1 1/2 tsp or you omit it ?
I’m gluten sensitive and so happy to have found your milk bread recipe to make and eat again (in GF form). In your recipe for your flour mixture, what rice flour brand do you recommend? I’ve found American brands, like Bob’s Red Mill doesn’t mill their rice flour fine enough, while Asian brands like Erawan’s (the green elephant one) flour is powdery. Also, do you recommend using white rice flour or sweet rice flour? Can’t wait to try this!
Thank you 😘